The exact details of the shrink wrap process will be dependent on what you are wrapping and what tools you are using. This page will therefore not go into detail, but simply provide a general overview of what is involved.
This operation can naturally be split into a series of events.
1) Preparation
The first and most important thing you need to do is look at what needs to be wrapped, and decide what you would like to achieve. The various materials and tools that are available all give slightly different results. What is your aim? Are you trying to offer protection, make something look better, make an airtight seal, or just hold several objects in place?
The main thing this determines is what type of film you need. Do you require strength and durability? What thickness is acceptable in terms of aesthetics. You can read more about the different films, just click here.
Next, gather your tools. There is a huge range of shrinkwrap equipment and machinery available, much of which is detailed elsewhere on this site. At the very least, you need something to cut with and a source of heat. Most people already own a pair of scissors or knife and a hairdryer, but these will not usually give very impressive looking results. Professional equipment is recommended.
Choose a piece of film that is large enough to go all the way around, preferably a single sheet. Always cut a shape that is slightly larger than you need as this will make your job much easier. Any excess can be trimmed off later.
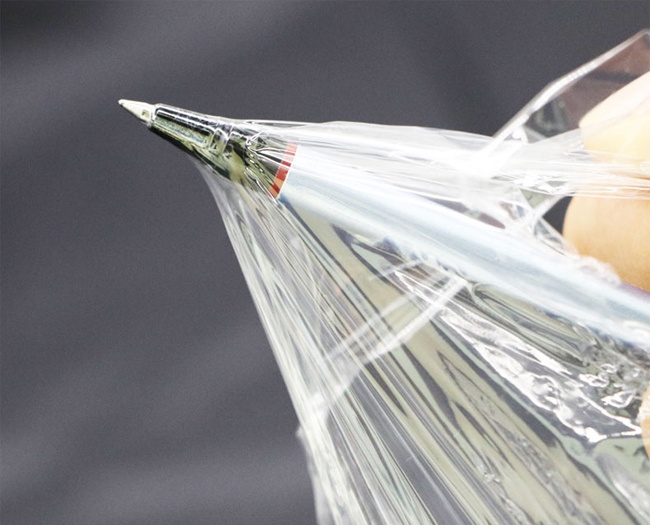
2) Cutting and Sealing
Once everything is in place, it’s time to cut and seal the edges using whatever tool you have selected. A good seal is important to hold everything in place during the shrinking process. You can also use a vacuum pump before doing this to remove any air. This is only relevant if you intend to create an airtight seal, and is only an option on certain types of machinery.
3) Shrinking
It’s important to apply the heat as evenly as possible over the whole surface area if you wish to obtain uniform shrinkage. Heated tunnels can do this with very little effort, but a heat gun can also produce good results with practice.
That’s all there is to it. With some professional equipment and a little practice, you should be able to produce near-perfect results every time. If you need to do this often, you can buy more expensive machinery that makes much of the process automatic.