One of the questions we get asked the most is how we get our foam work so clean. Therefore, we would love to share with you some of the tips and tricks for you to work with EVA foam.
Some of these tips may seem really simple but they can make a huge difference to your final result. So if you are new to EVA foam or you just want to improve your foam work and get cleaner results, then we hope these tips will be helpful.
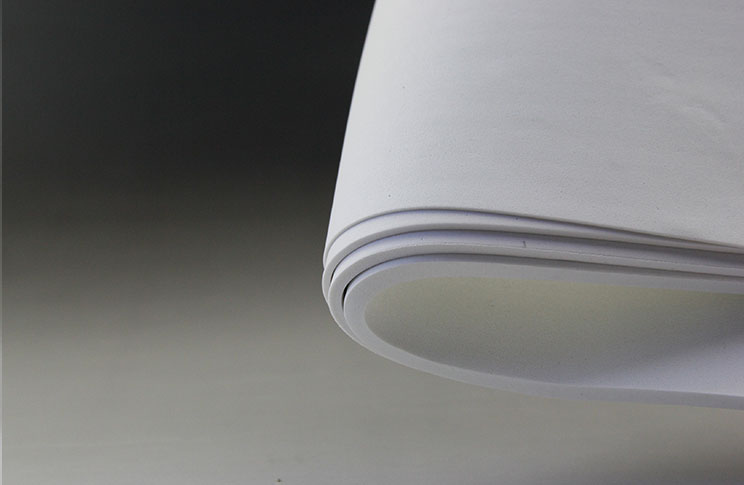
1. Choose the Right EVA Foam
When choosing your EVA foam, you need to make sure that you are getting the right kind of foam since not all
EVA foam is the same. Different kinds of foam come in different densities and thicknesses.
Softer EVA foam is great for making armor pieces but it can be a little harder to cut. Harder or denser EVA foam is great for details and props. It is more rigid and you can cut into it nicely. However, this also means that it can be harder to shape and form.
2. Use Sharp Craft Knife
When cutting EVA foam, you need to use a sharp craft knife to get clean edges. One of the most important keys to clean foam work is using a sharp knife cutting with a sharp knife which will give you a super clean cut. You will be able to slice through the foam like butter.
If you are using a blunt knife, it will create rough edges and rip the foam. As a result, it will give you a not-so-nice-looking edge. So, make sure you have some replacement blades or you can also sharpen your blades with high grit sandpaper or a knife sharpener.

3. Try to do One Solid Cut
Another important tip for getting super clean lines on EVA foam is to try to cut the foam in one continuous smooth cut. This will give you the cleanest edges.
If you have to come back and cut over the foam, again and again, it can give you edges with weird lines on the side tip.
4. Using Contact Glue instead of Hot Glue
Contact adhesive is one of the best glues for EVA foam. It’s super strong and bonds really well. So your seams will never rip apart. Apply a little bit of glue to each side and they will stick together.
Then, let them get tacky where you can press the two pieces of foam with the glue on together. When they touch, they’ll bond instantly. Contact glue can also be applied really neatly. No glue will poke out from the edges.
On the other hand, hot glue is not really ideal for EVA foam as the glue itself is pretty thick and can often squash out between the scenes. This can be really difficult to get rid of it and it also doesn’t bond instantly. So, you may have to spend time trying to keep the seams together and fixing the splits.
Since hot glue is activated with heat, if you want to heat your EBA foam again and shape it some more, the glue can split open. This will make the seam messy.
5. Use Your Thumb as a Guide to HelpLine Up Your Edges
Making a foam seam line up completely flush can be pretty tricky. To help line up your seams, you can use your thumb as a guide and place it on top of your seam when you join them. This will keep the foam pieces from misaligning.
6. Use a Heat Gun to Remove the Fluffy Edges
After sanding, EVA foam is a great way to get certain shapes, but it leaves really nasty little rough pieces all over. To get rid of these you can melt off the little fluffy pieces with a heat gun. You can also press the edges when they’re warm to get them extra smooth.
7. Heat Sealing Your Foam
Heat sealing can help with priming and getting rid of the porous surface on the foam. When heated with a heat gun, the foam tightens up and the little pores in the foam surface shrink. This makes the surface of the foam a bit smoother and will stop it from absorbing too much of your primer.
8. Heat Shaping Folk
Sometimes it’s not enough to just glue pieces together to get your desired shape. The EVA foam may not always do what you want. But with a little bit of heat, you can easily bend the foam to your will.
Just heat the foam with your heat gun and bend it into the shape you want. Make sure you let the foam cool down and lock it into position. You can also use heat to press cool shapes and textures into your EVA foam.
9. Hiding Your Seams
To hide the seams on your armor pieces, you can use gesso. Gesso is a flexible canvas primer and it’s great for use on foam. You may just take a bit of the paste and smooth it on with your finger. You can also smooth it out even more with some water. Once the gesso is dry, you can repeat this process until your seam is completely hidden.
10. Priming All EVA Foam
EVA foam is like a sponge. So to get a more plastic or metallic-looking surface, you’ll need to prime your EBA foam. Luckily there are tons of options available to prime foam. With a few examples of foam primers or PVA glue Mod Podge flex bond and Plasti Dip, apply a few layers of your primer to the foam and then you’ll have a nice smooth surface ready for paint.
When it comes to getting clean foam work, it really is about these small practices that can make a huge difference.